Lumenoise
Audiovisual Synthesizer
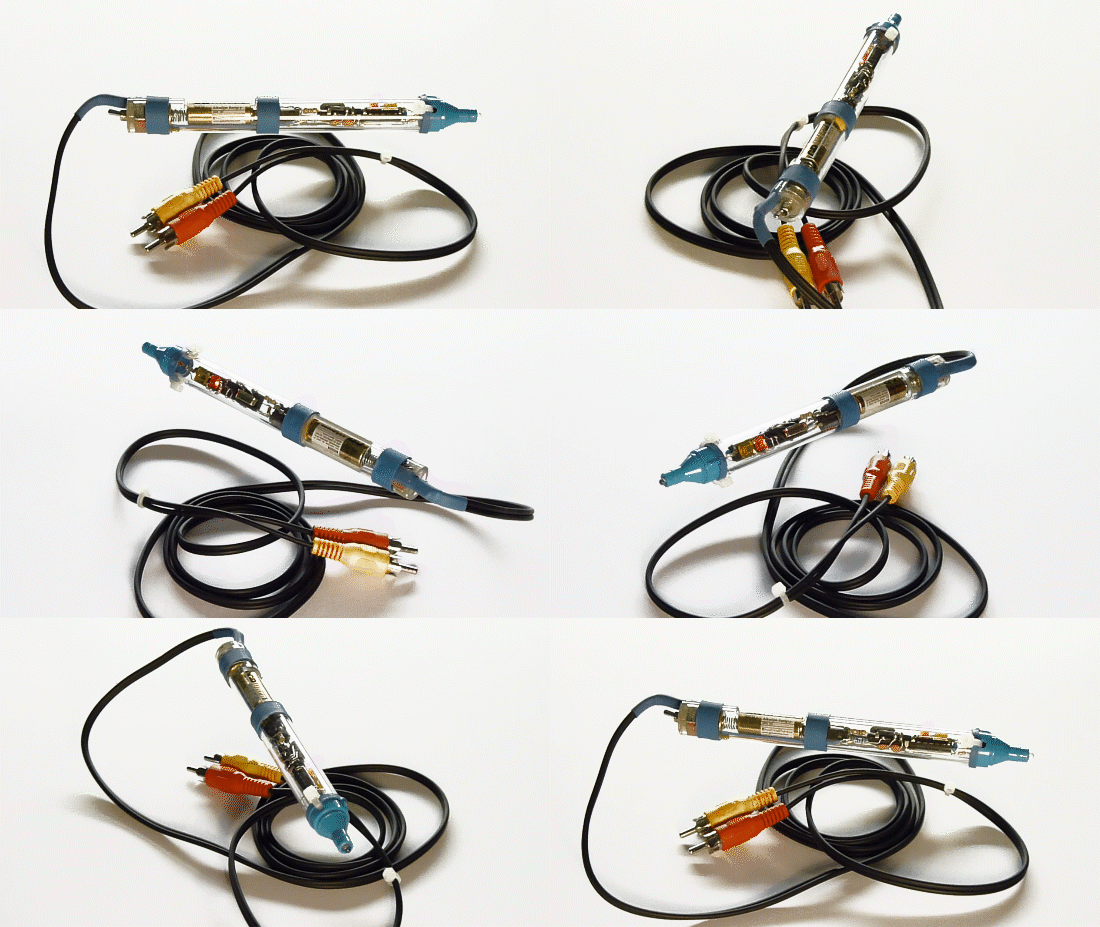
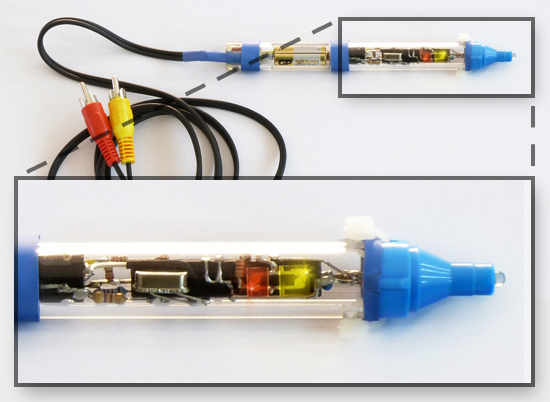
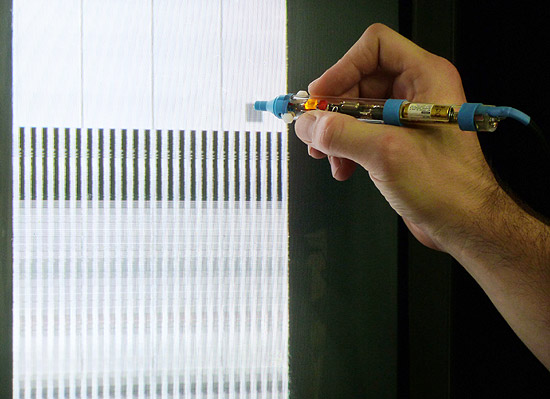
Lumenoise is a light pen, which turns your old CRT-TV into an audiovisual synthesizer. You paint abstract geometric patterns and sounds directly onto the screen. It is a playful and performative device, as anything that you do will cause an instantaneous reflection in the gadget’s sonic and visual output. I have captured a few minutes in the video above.

How a light pen works
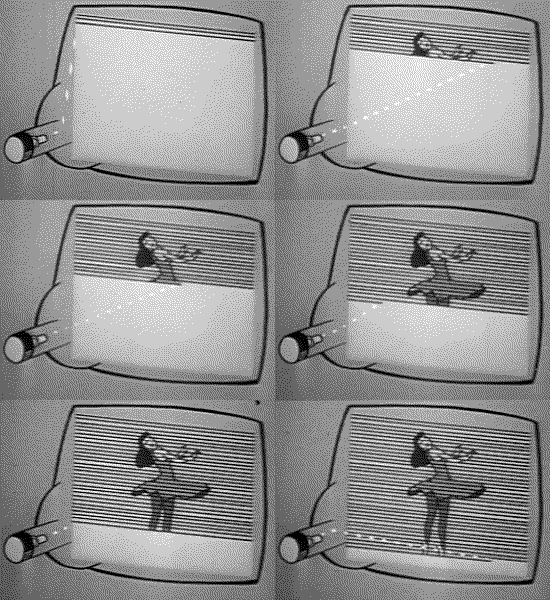
Unlike modern flat TV’s, old school Cathode Ray Tubes (CRT’s) draw the image line by line onto their phosphorescent screen. A photo transistor, placed on a tube TV’s surface, can recognize when the part of the image is drawn underneath it. If this photo transistor is connected to the electronics which generatee the video signal, the system can localize the exact position of the photo transistor on the screen. That’s the principle of a light pen. Here’s an animation which illustrates the process how the electron beam inside a CRT draws an image:
Source: Archive.org

Lumenoise is a cheap and simple electronics project. If you’ve ever wondered why you’re still storing this big old tube Television in your cellar – this project might be the reason!
For making your own audio visual light pen synthesizer, you can download all codes and schematics at the end of this page. The circuit only requires a hand full of parts and is built around the ATmega8. Even if I wanted to squeeze all components inside the pen (and finally succeeded), I can recommend you not to do so and to build the setup a bit larger on perfboard instead. That makes everything much easier.

The project is coded in C, using the AVR-GCC-Compiler which makes it easy to hack and to develop further (the current code uses only half of the 8K memory). When you download the zip file with the codes, in addition to the final program you will also get some stable earlier versions of it. They are more lean and easier to understand, which makes them a good foundation for coding your own synth, which will produce different visuals and sounds.

Update:
Together with communication design students of the school of Fine Arts in Porto, Ricardo Lafuente built a few Lumenoises. He was so kind to write down how he programmed it from Linux. Here’s an excerpt of his email:
... here’s a quick rundown of what I did to get Lumenoise working from a Linux command line. The only required tool seems to be the avrdude package.
1. Flashing the .hex into the Atmega:
avrdude -v -p m8 -c avrispv2 -P /dev/ttyACM0 -D -e -Uflash:w:lumenoise.hex2. Setting up the chip fuses to use the xtal:
avrdude -v -c avrispv2 -p m8 -P /dev/ttyACM0 -U lfuse:w:0b11111111:m -U hfuse:w:0b11001001:m [src: https://electronics.stackexchange.com/a/38875 ]Notes:
- the “-c avrispv2” flag might differ according to the programmer used to flash the chip. I used this one: https://www.pololu.com/catalog/product/1300
- likewise, the “-P /dev/ttyACM0” might be different in other cases.
- it might be necessary to run these commands as root (or sudo) because of USB permission issues.
Thanks, Ricardo!
Additional resources
- Source codes - please be aware that those codes only work for PAL TV's. In case you want to use Lumenoise with an NTSC TV, you have to update the entire timing.
- Schematics
- Album with screenshots and hires photos
[all CC licensed for reuse]